How to photograph Christmas Lights
Photographing or filming Christmas lights can be a fun and rewarding activity, but it can also be challenging if you’re not familiar with the best techniques and settings to use. In this article, I’ll go over some tips and tricks for capturing stunning photos and videos of Christmas lights that will stand out and impress your friends, family, or anybody else.
Scout out the Location
First and foremost, it’s important to plan ahead and scout out your location. Look for areas with a lot of colorful lights, such as a neighborhood with houses decorated for the holidays or a local park or downtown area. Consider the time of day and the weather, as well. Evening and nighttime are generally the best times to photograph Christmas lights, as the darkness creates a more dramatic contrast against the bright lights. However, if it’s raining or foggy, this can add an interesting and atmospheric effect to your photos.
Equipment and Camera Settings
Once you’ve found your location, it’s time to set up your camera. If you’re using a DSLR or mirrorless camera, use a tripod to keep your camera steady and avoid blurry photos. You’ll also want to use a low ISO setting to reduce noise and a small aperture (high f-stop number) to keep the entire scene in focus. Depending on the lighting conditions, you may need to use a slower shutter speed to allow more light into the camera.
If you’re using a smartphone, try using a tripod or a stable surface to rest it on, and consider using a third-party camera app that gives you more control over the camera settings. The Adobe Lightroom app is extremely powerful!
Composition is essential
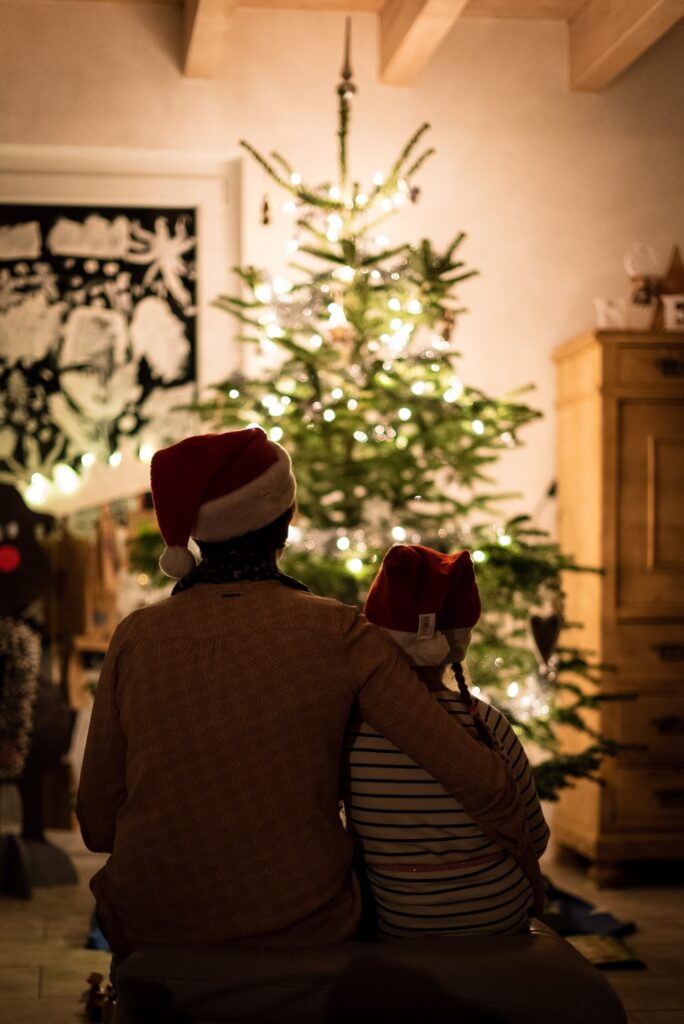
When composing your shots, try to include some context in the frame, such as a tree or a building. This will give your photos a sense of place and help them feel more festive. You can also experiment with different angles and perspectives, such as shooting from above or below the lights. If you want to learn more about composition read this article.
The key elements of Christmas light photos & videos
One of the key elements to successful Christmas light photography is getting the white balance right. White balance refers to the way your camera interprets the colors in a scene, and it’s important to get it right in order to avoid your photos looking too warm or too cool. If you’re using a DSLR or mirrorless camera, you can manually set the white balance using the Kelvin scale.
For smartphone cameras, you can try using a white balance preset, such as “tungsten” or “fluorescent,” or use the auto white balance setting and adjust it in post-processing if needed.
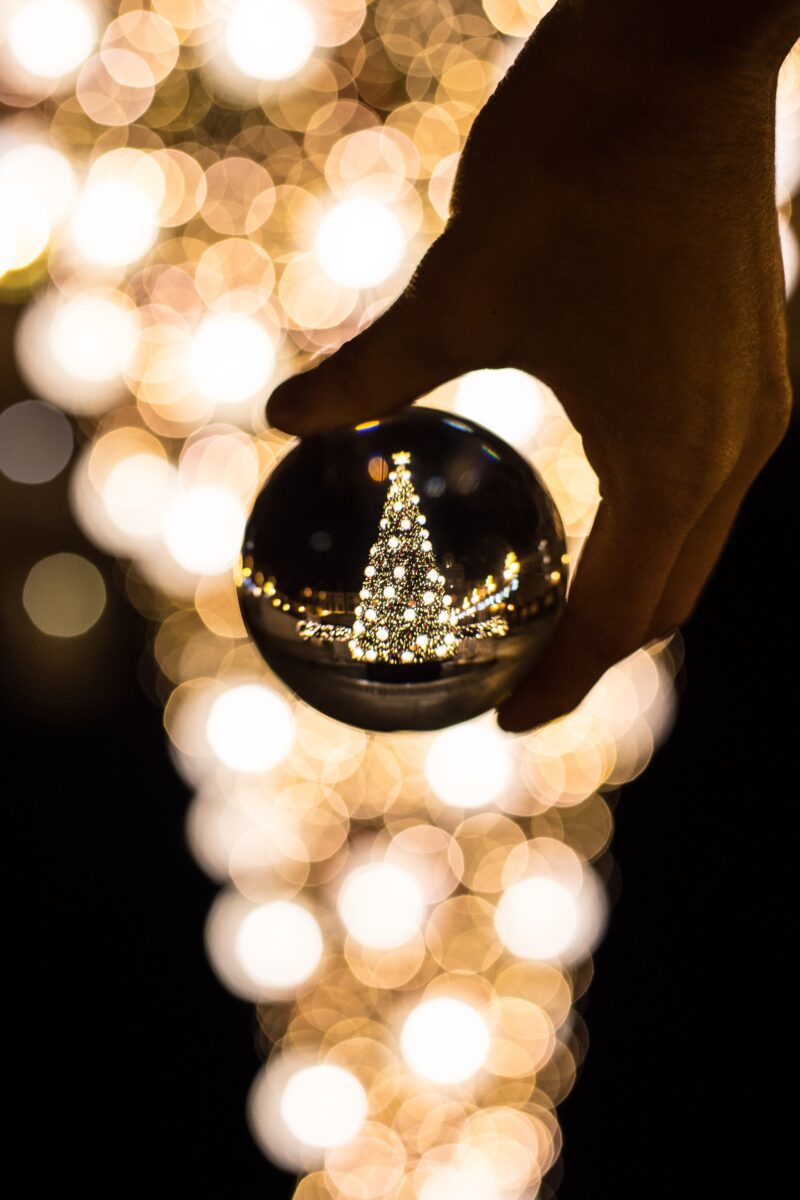
 Finally, don’t be afraid to play around with your camera’s settings and experiment with different techniques. Try using different lenses, such as a wide-angle lens to capture a larger area of light or a telephoto lens to zoom in on specific details.
You can also try using creative techniques such as panning or long exposures to capture movement and add a sense of dynamism to your photos.
By following these tips and tricks, you’ll be well on your way to capturing beautiful and memorable photos of Christmas lights.
Happy holiday shooting!
Latest Articles:
-
When Rome Whispers: A Sunset Journey Through Time
-
Rome’s Best-Kept Secrets: Hidden Gems Only Locals Know About
-
Rome: The Eternal City - Complete Guide
-
Rome in 3 Days: The Ultimate Itinerary for you!
-
Naruto: Review of the first Manga
-
Top 7 Free AI Certifications You Can Start Today
-
Guide to Snow (Winter) Photography
-
A Brief Guide to Financial Freedom
-
How to Become a Content Creator on TikTok
-
Embracing Vulnerability: Who is Brené Brown
